C# How to Write a Source Generator Part 5/5: Publishing the Library with Automation Tool
After carefully code and test, we would like to share the library to the world and hope it will be helpful to people.
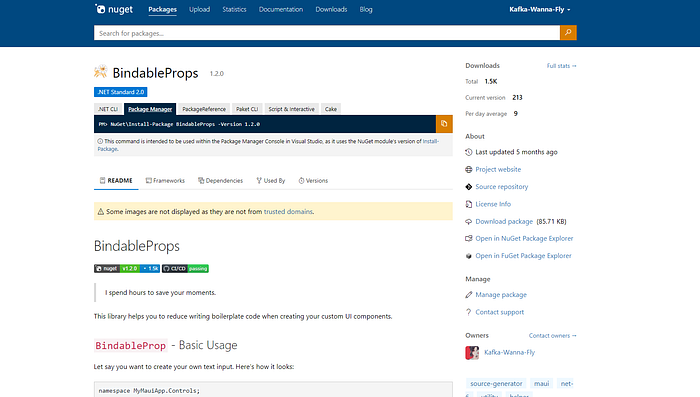
Library Description
Before share your code, we need to tell what it is, what it does, who is the author, etc.

As set up in part 2, others users (developers) will only see classes in BindableProps project when downloading the library. They can’t access class such as BindablePropSG or BindablePropTest because they don’t need to. So, we only need to put description for BindableProps project.
My BindableProps.csproj would become like this:
<Project Sdk="Microsoft.NET.Sdk">

 <PropertyGroup>
  <TargetFrameworks>netstandard2.0</TargetFrameworks>
  <LangVersion>10.0</LangVersion>
  <ImplicitUsings>true</ImplicitUsings>
  <Nullable>enable</Nullable>

  <Title>BindableProps</Title>
  <Authors>KafkaWannaFly</Authors>
  <Description>Auto generate boilerplate code when declaring BindableProperty</Description>
  <Copyright>MIT</Copyright>
  <PackageLicenseFile>LICENSE.txt</PackageLicenseFile>
  <PackageTags>source-generator;maui;net-6;utility;helper</PackageTags>
  <PackageProjectUrl>https://github.com/KafkaWannaFly/BindableProps</PackageProjectUrl>
  <Version>1.2.0</Version>
  <RepositoryUrl>https://github.com/KafkaWannaFly/BindableProps</RepositoryUrl>
  <RepositoryType>git</RepositoryType>
  <PackageReadmeFile>README.md</PackageReadmeFile>
  <PackageIcon>lion.png</PackageIcon>
  <PackageRequireLicenseAcceptance>True</PackageRequireLicenseAcceptance>
 </PropertyGroup>

 <ItemGroup>
  <None Include="..\LICENSE.txt">
   <Pack>True</Pack>
   <PackagePath>\</PackagePath>
  </None>
  <None Include="..\lion.png">
   <Pack>True</Pack>
   <PackagePath>\</PackagePath>
  </None>
  <None Include="..\README.md">
   <Pack>True</Pack>
   <PackagePath>\</PackagePath>
  </None>
 </ItemGroup>

 <ItemGroup>
  <ProjectReference Include="..\BindablePropsSG\BindablePropsSG.csproj"
        PrivateAssets="contentfiles;build"
        SetTargetFramework="TargetFramework=netstandard2.0"
        ReferenceOutputAssembly="false" />
 </ItemGroup>

 <ItemGroup Label="Package">
  <None Include="..\BindablePropsSG\bin\$(Configuration)\netstandard2.0\BindablePropsSG.dll"
          PackagePath="analyzers\dotnet\cs"
          Pack="true"
          Visible="false" />
 </ItemGroup>

 <!-- Enable trimming support on .NET 6 -->
 <PropertyGroup Condition="'$(TargetFramework)' == 'net6.0'">
  <EnableTrimAnalyzer>true</EnableTrimAnalyzer>
  <IsTrimmable>true</IsTrimmable>
 </PropertyGroup>
</Project>
NuGet and GitHub Actions

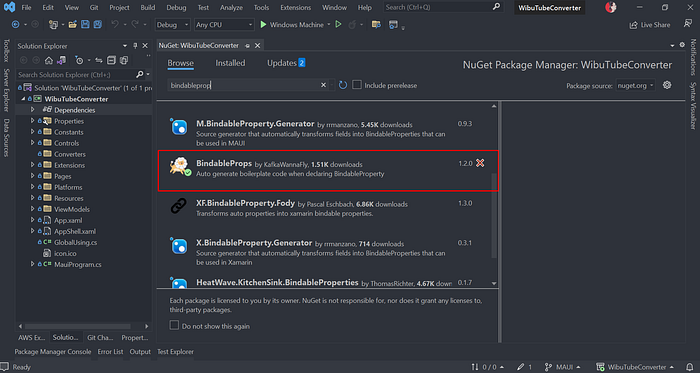
For those who might not know, NuGet is a place to store open-source library of C# all around the world. To post my library on this place, we need to create an account. If we let GitHub publish the package to NuGet on our behalf, we’ll need an API key.

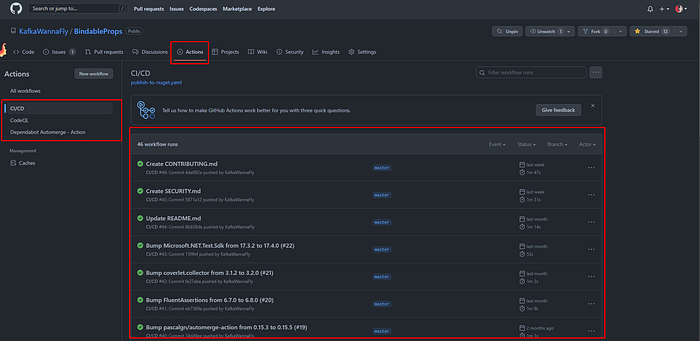
GitHub Actions is a CI/CD service of GitHub. It help us automating on build, test and publish our code. It will read any .yaml file inside .github/workflows/ folder and execute our desired actions.
# In root directory of our source code
# Create .github/workflows/publish-to-nuget.yaml
name: CI/CD
on:
push:
branches:
# Only run when commit code to the master branch
- master
# An action would have many jobs run in parallel
# Each job would have many steps run in sequence
jobs:
unit-test:
name: Unit Test
# Depend on the type of application, we may need to request a Windows or Mac
# Since our project is multi-platform so Linux is OK
runs-on: ubuntu-latest
steps:
# Tell it to clone our repo
- uses: actions/checkout@v3
# This action is created by community
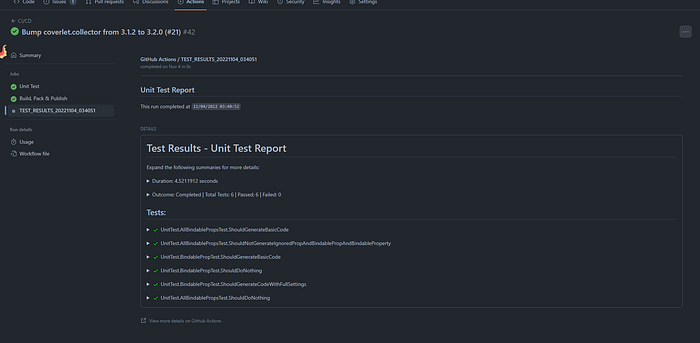
# We need to run test to make sure everything is OK
- name: Run unit tests
uses: zyborg/dotnet-tests-report@v1
# Some parameters for the action
with:
project_path: UnitTest/UnitTest.csproj
report_title: Unit Test Report
# This is syntax of GitHub Actions
# 'secrets.GITHUB_TOKEN' is a default variable
github_token: ${{ secrets.GITHUB_TOKEN }}
fail_build_on_failed_tests: true
publish:
# Jobs run in parallel but we need this to run after unit test
needs: unit-test
name: Build, Pack & Publish
runs-on: ubuntu-latest
steps:
- uses: actions/checkout@v3
# Publish
- name: Publish
id: publish_nuget
uses: alirezanet/publish-nuget@v3.0.4
with:
# Filepath of the project to be packaged, relative to root of repository
PROJECT_FILE_PATH: BindableProps/BindableProps.csproj
# This is not default variable
# We have to create this one
NUGET_KEY: ${{secrets.NUGET_API_KEY}}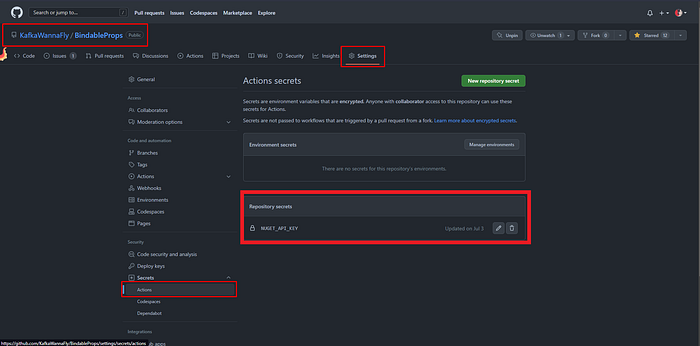
Look good, now we can commit publish-to-nuget.yaml file to our repository. Whenever somebody push new code or merge a pull request to the master branch, GitHub Actions will automatically do all necessary jobs for us.
Conclusion
Source Generator is a powerful tool that can help people a lot in their development journey. I hope my dear reader find useful knowledge from the series. Goodbye and have a nice day (o゜▽゜)o☆